The useful starting point
When access is safe, photograph the overall scene and individual damage, keep original files, list affected belongings and record the timeline. Save repair authorizations, invoices and receipts. Do not enter a hazardous area or delay necessary protective work solely to create a more complete record.
Put safety ahead of the record
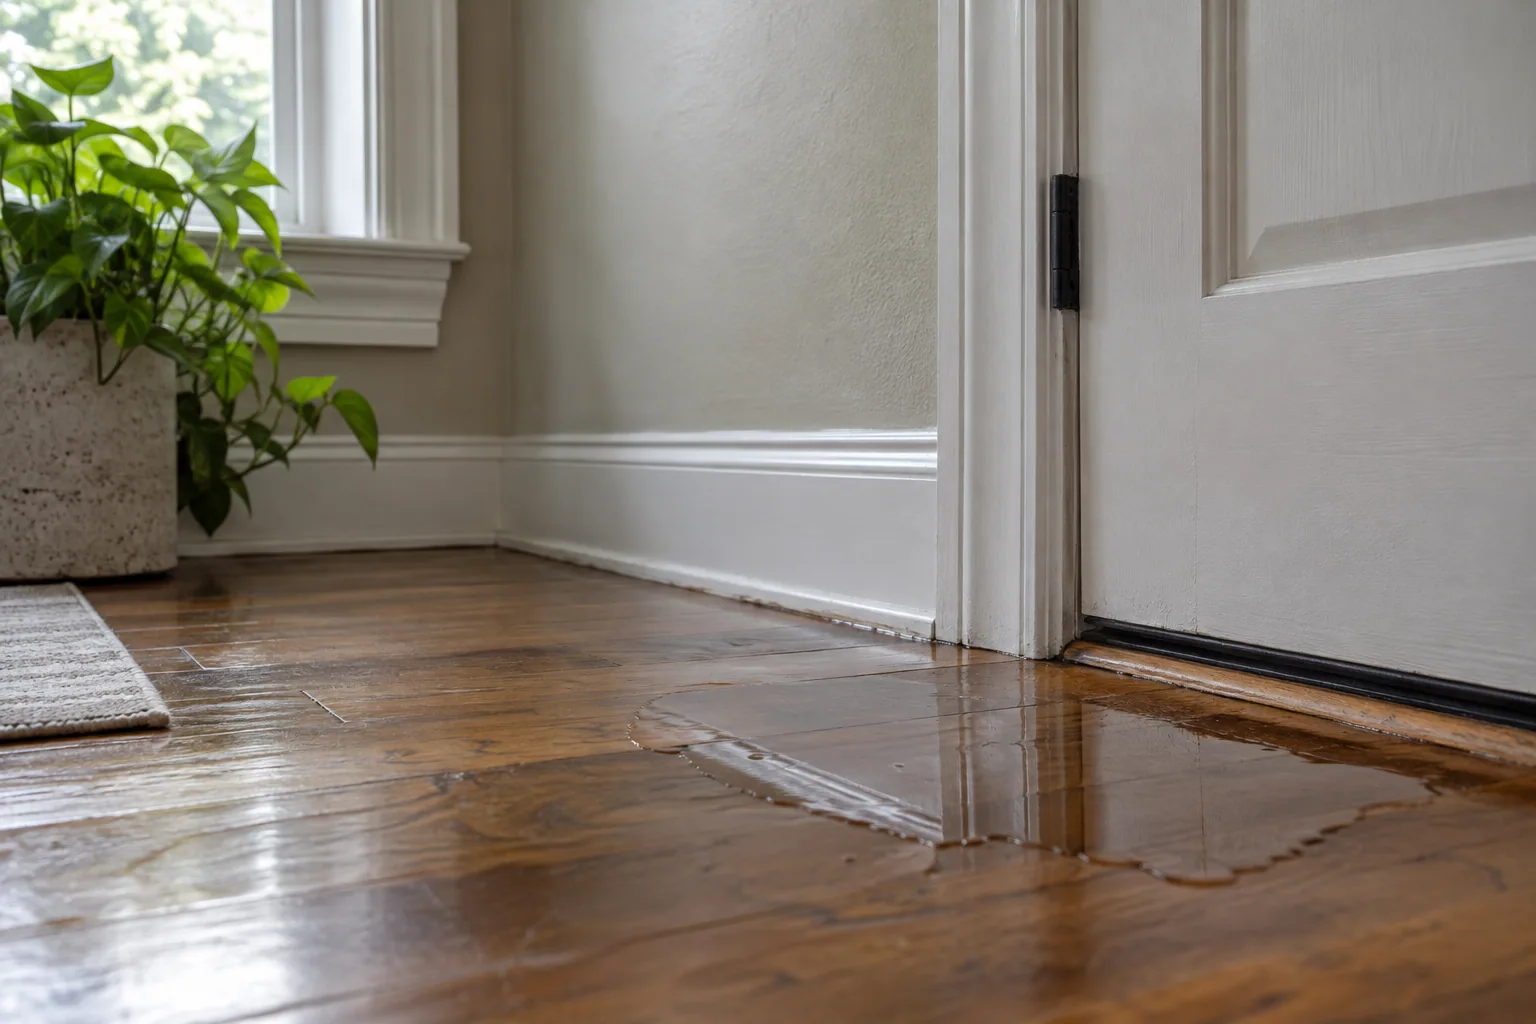
After a fire, wait for permission to enter. After flooding or a leak, keep away from water that may involve electricity, contaminated material or unstable surfaces. Ask responders or the appropriate professional what areas are accessible. Documentation is useful only when it does not create another emergency.
If a damaged area cannot be reached safely, record that limitation and ask the responding professional to provide photographs when appropriate. Do not climb onto a roof, step beneath a sagging ceiling or disturb a wall simply to obtain a better angle.
Massachusetts insurance guidance recommends prompt reporting and reasonable action to prevent additional loss. Ask the insurer how to document necessary temporary protection. Safety and mitigation should not wait for a perfect photo inventory, but the work and expenses should be recorded as circumstances allow.
Take photographs in three distances
Begin with a wide view showing the whole room and its doorways. Move to a mid-range view showing the affected wall, cabinet, floor or ceiling. Then take a detail view of the visible condition. This sequence lets a person who has never visited understand where the close-up belongs.
Use ordinary lighting and preserve the original image files. Avoid filters, exaggerated contrast or edits that alter the apparent condition. If you create an annotated copy, keep the unedited original alongside it. A simple label can identify a feature without changing the evidence.
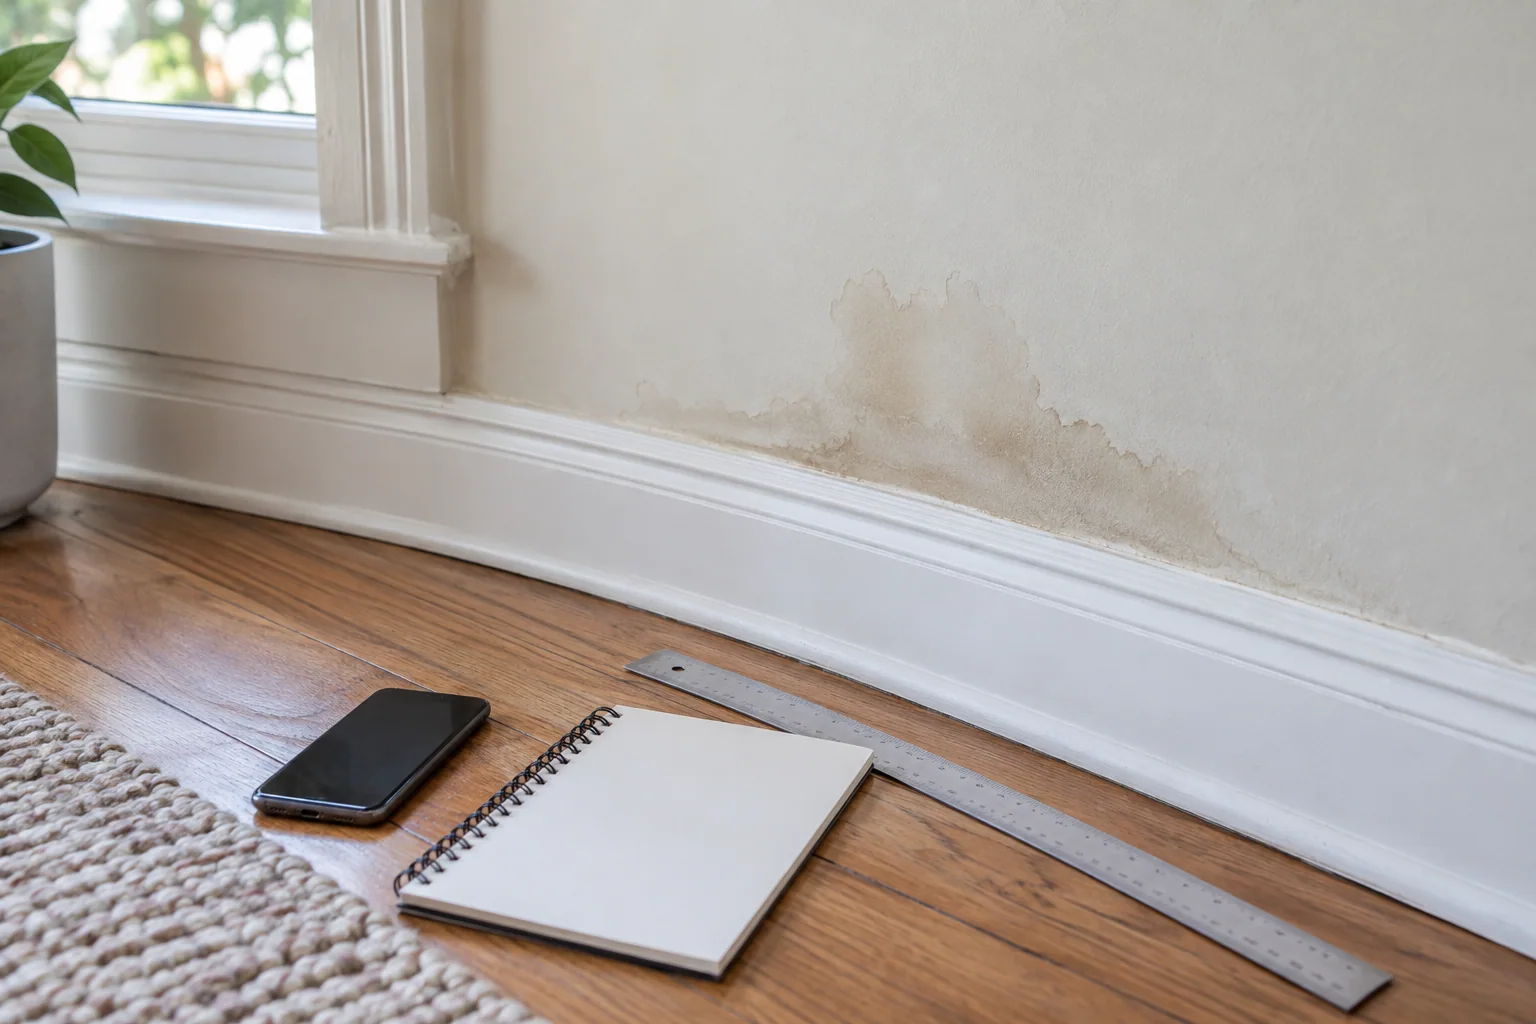
A ruler or other scale may help when it can be placed safely without touching hazardous material. Do not manipulate a stain or loosen debris to make the damage more visible. Photograph what exists and let the professional assessment explain its significance.
| Photo type | Include | Avoid |
|---|---|---|
| Wide room view | Doors, fixed features and overall location | Only close-ups with no context |
| Mid-range view | Affected surface and nearby fixtures | Angles that hide the room relationship |
| Detail view | Visible condition and safe scale if useful | Scraping or moving material for the photograph |
| Work-stage view | The same location after access or repair | Overwriting the original files |
| Contents view | Item identifier and condition | Unverified claims about age or value |
Build a timeline with observations and sources
Record when the event was discovered, when help arrived and when protective work began. For a gradual problem, note the first observation and relevant earlier events such as a leak, renovation or period away. Use approximate dates honestly when exact ones are unavailable.
Identify the source of each conclusion. If a plumber reports a failed connection, record their name and attach the report; do not present it as something you personally established. This small distinction lets an adjuster or another contractor check the finding without untangling observation from interpretation.
Keep communications that change decisions: instructions about access, approval of temporary repairs, requested inspections and scope amendments. After a phone call, write a dated note naming the participants and what was agreed. Ask for written confirmation when the instruction affects significant work or cost.
Inventory possessions without inventing missing details
List affected contents by room with an identifier, description, observed condition and known ownership information. Add model or serial numbers where safely available. Distinguish an item being assessed from one approved for disposal; those statuses can change during recovery.
If receipts are missing, ask the insurer what alternative evidence it accepts. Massachusetts guidance identifies photographs, warranties, manuals and financial records as possible supporting material. Family photos can also help establish that an item was present, but should not be used to claim details they do not show.
Record uncertainty explicitly. An approximate purchase year or unknown model is more credible than a guessed fact presented as exact. Keep sentimental importance in a separate note so the contents team knows which items merit a specialist discussion before treatment.
Preserve evidence while allowing necessary work
Ask the insurer about inspection and disposal before damaged property is removed where practical. Massachusetts claim guidance cautions against discarding damaged property before authorization. If material presents a sanitation or other immediate hazard, coordinate a documented safe process rather than retaining it in living space.
Request photographs and descriptions from contractors before covered areas are opened and before new finishes conceal the results. Useful records show the original location, what was found and the work performed. A photo folder with no labels can be difficult to connect to a bill months later.
Keep removed parts or materials only when the responsible professional or insurer directs an appropriate method. Do not collect hazardous debris yourself. If something cannot be retained safely, ask how photographs, reports and disposal records should document it.
Keep money and work records together
Create a folder for estimates, signed authorizations, change orders, invoices and receipts. Give each document a date and short description. Track whether an amount is proposed, approved, billed or paid so the same expense is not accidentally counted twice.
Separate temporary protection, mitigation, contents, reconstruction and additional living expenses in your own index. The insurer may categorize them differently, but a clear original record makes questions easier to answer. Keep proof of payment with the invoice when available.
Ask contractors for the supporting records relevant to their charges, such as equipment dates, material quantities or specialist reports. The purpose is to connect the invoice with work you authorized and can identify, not to reconstruct an unfamiliar project from a total alone.
Keep shared-building records identifiable
In a condo or triple-decker, label photographs with the unit and room as well as the date. A ceiling in one unit and a floor in another may be part of the same investigation, but they remain different locations. Ask the building coordinator to keep the relationship clear in shared reports.
Record who authorized access and who received each report. Forward factual findings to the appropriate manager or owner without assigning responsibility before the cause has been established. A shared folder can help, provided personal information and unrelated household photographs remain private.
Make a file another person can navigate
Use a simple naming convention: date, room and subject. Keep a short index with the claim number, contractor contacts, report locations and unresolved questions. Store a backup somewhere accessible if your main device or the house is unavailable.
Share only what the recipient needs. Photos can contain personal documents, screens or family information, so review the copies you send while retaining accurate originals. If you redact a sharing copy for privacy, label it and preserve the source file.
Update the record at major milestones: after emergency work, after inspection openings, before concealment and at completion. Photograph the same views when possible. This sequence gives the next contractor, adjuster or homeowner a coherent account of what changed and what remains unresolved.
Your field checklist
- Enter and photograph only areas confirmed safe.
- Capture wide, mid-range and detail views.
- Keep original files and label annotated copies.
- Record the timeline and source of each conclusion.
- Inventory contents with accurate, qualified descriptions.
- Save work-stage records, receipts and an accessible backup.
A few common questions
Should I wait for the adjuster before stopping an active leak?
Do not delay safe, necessary steps to prevent further damage merely to await photographs or an inspection. Contact the insurer promptly, follow appropriate professional advice, and document the condition and temporary work as safely as possible.
Can I throw away damaged belongings after photographing them?
Ask the insurer about its inspection and disposal requirements first where practical. Photographs do not automatically replace that requirement. For unsafe or unsanitary material, arrange a documented safe process with the insurer and the responsible contractor.
Sources & further reading
- Obtaining Payment for Your Home Insurance ClaimMassachusetts Division of Insurance
- Consumer Alert: Making the Claims Process EasierMassachusetts Division of Insurance
- Frequently Asked Questions about Homeowners InsuranceMassachusetts Division of Insurance
- After the FireU.S. Fire Administration
This guide supports informed conversations about your home. Conditions, materials and local requirements vary; an on-site assessment is necessary for decisions about a particular property.