The useful starting point
Treat a brownstone as a connected building: roof drainage, masonry, windows and below-grade walls affect one another. Record where and when water appears, stop active entry, and ask for repairs matched to the actual materials. A stained room rarely identifies the full repair area.
Start with the building behind the facade
A sandstone street front tells you little about the rest of a brownstone. Behind it, the same house may have brick rear walls, wood-framed additions and a mixture of original and replacement windows. Each junction belongs in the maintenance plan. Walk the accessible perimeter and record the wall materials, roof edges, drains and additions; concentrating on the front elevation can leave the most troublesome connections out of view.
Keep that record with earlier inspection reports and repair invoices. Note which surfaces are original, which have been coated and where work changed the drainage route. You do not need to date every brick. You do need to know whether a wet bedroom sits below a roof terrace, beside a chimney or above a basement wall that also becomes damp. Those relationships help a contractor decide what to inspect first.
Follow roof water all the way down
From the street, a parapet or cornice may hide the roof edge and its drainage. Ask a roofer to document the covering, flashing, drains or gutters, and the final discharge point. Photographs taken during safe professional access are more useful than a verbal assurance that the roof looks fine. Include roof penetrations and any connection between the main building and a rear extension.
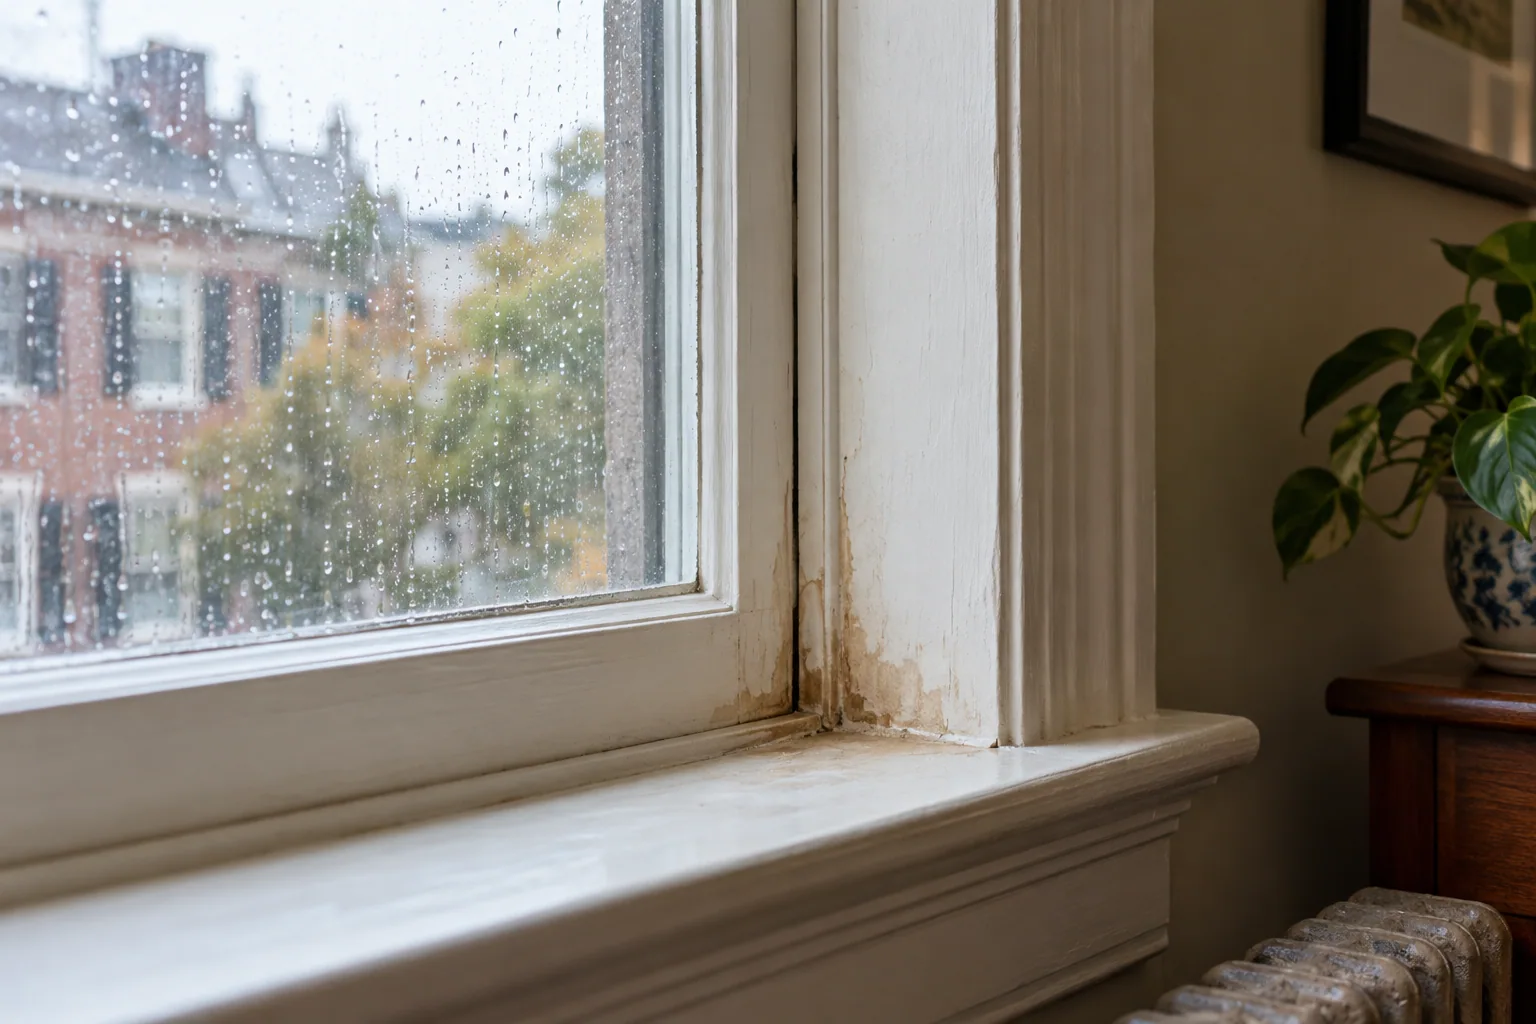
Inside, a stain can appear some distance from the entry point. Record its position in relation to exterior walls and upper rooms, then note the weather when it changes. Rain from one direction, melting snow and a blocked drain can produce different patterns. Keep clear of loose cornice material or a sagging ceiling, and arrange prompt assessment. Waiting for the next storm is reasonable only for monitoring a stable, nonhazardous condition after active damage has been addressed.
Choose masonry repairs for the existing stone and brick
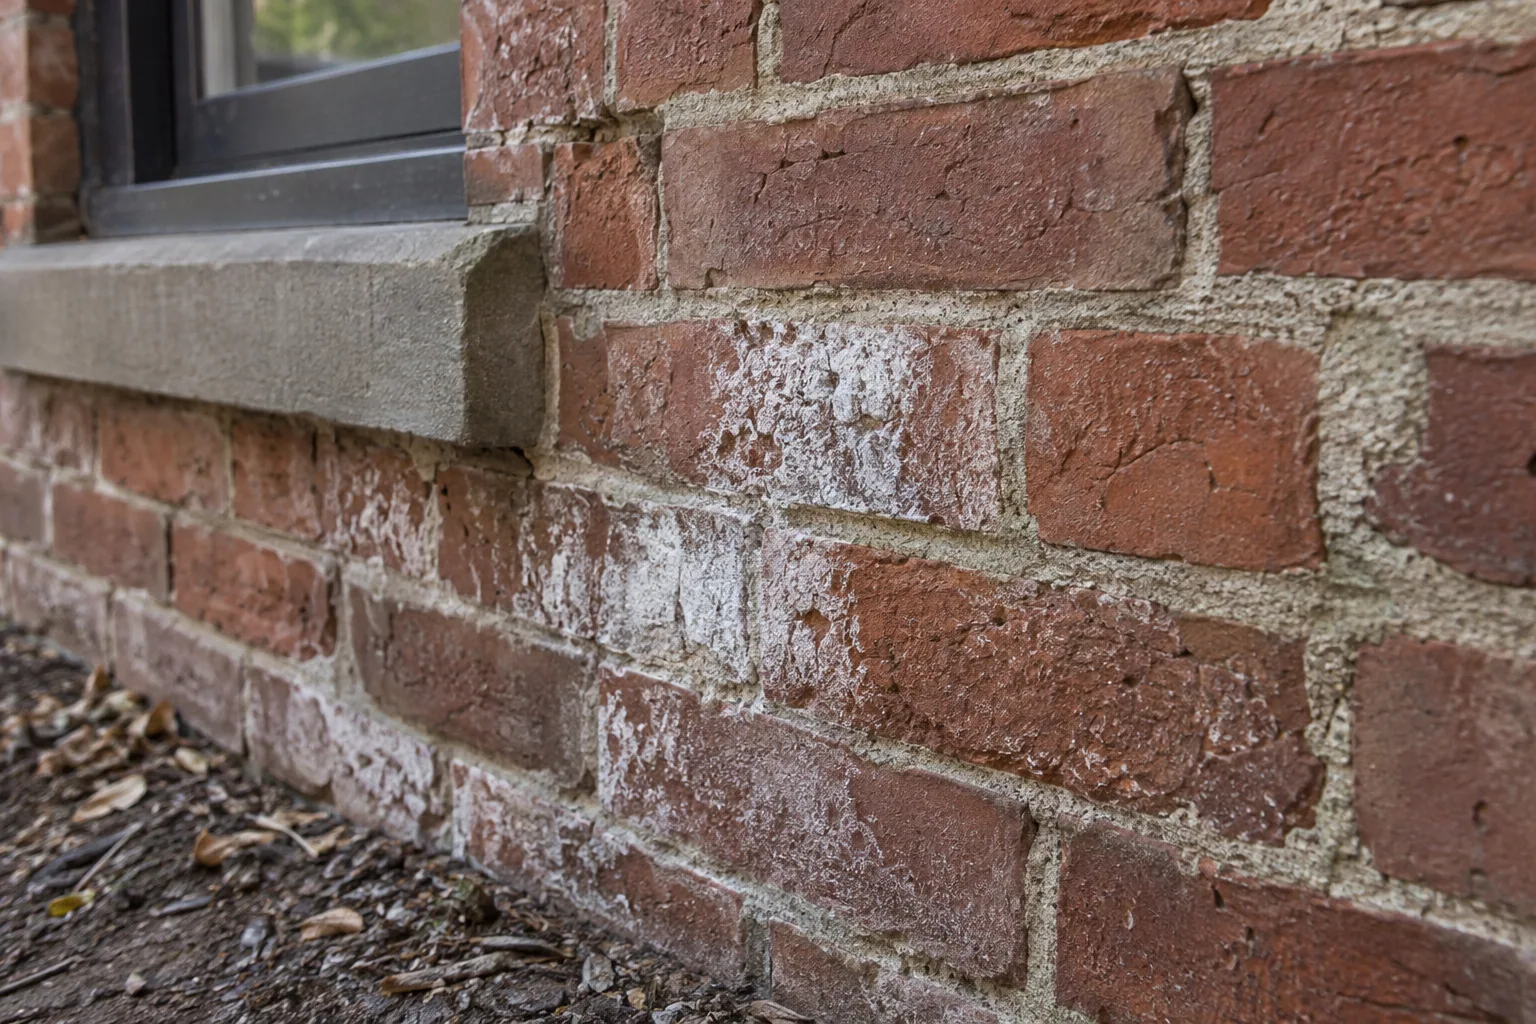
A surface that sheds flakes, a joint that has opened and a white powder deposit are different observations. Photograph them separately. Painting every area or applying a clear water repellent may hide the evidence without identifying how moisture entered. The National Park Service's masonry guidance emphasizes evaluating materials and cleaning methods before treatment; an attractive sample is not enough if the method damages the underlying surface.
Ask a masonry specialist to explain the proposed mortar, preparation and repair depth, especially where earlier patches are much harder than the surrounding work. Sandstone and brick do not necessarily need the same treatment. For a decorative stone sill, request a description of what can remain and what requires repair. For repointing, ask how the contractor will avoid damaging joint edges. A trial area lets you review texture and appearance before the whole elevation changes.
| Observation | Useful next question | Avoid assuming |
|---|---|---|
| Flaking stone | Is water entering above or behind this area? | A coating will stop the decay |
| Open mortar joints | What mortar suits this masonry? | The hardest mortar is the best |
| White deposits | Where is moisture entering and drying? | The color proves mold |
| A localized interior stain | Which exterior details align with it? | The nearest window must be leaking |
Give below-grade rooms their own inspection
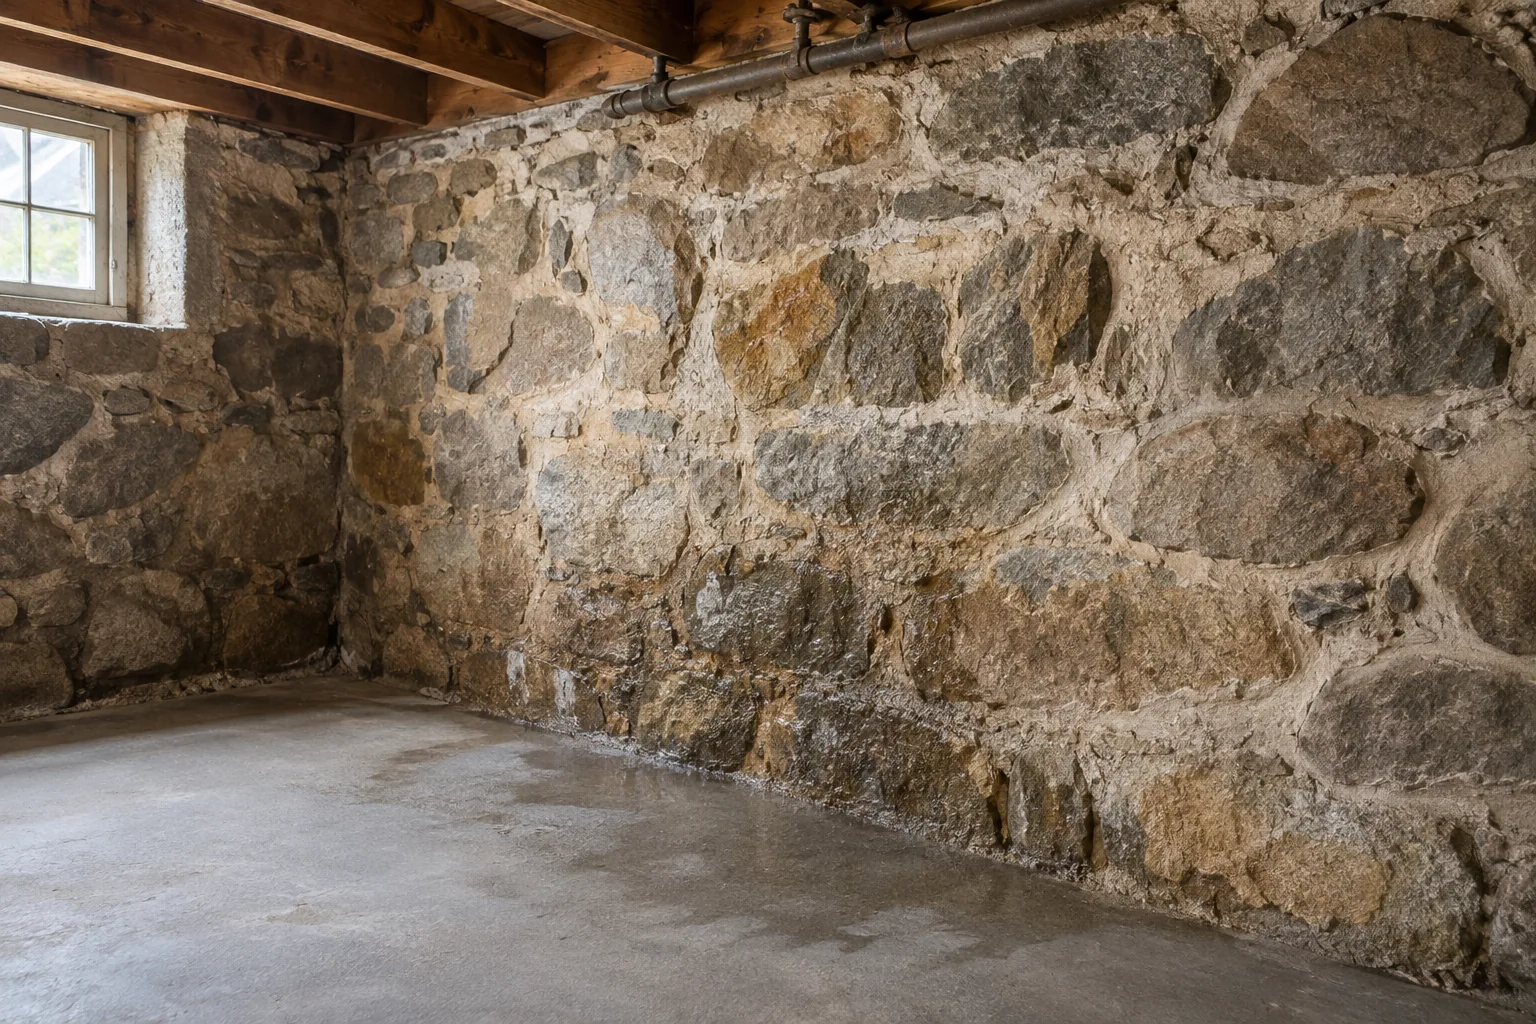
A finished garden level can conceal the foundation and the back of exterior walls. Inspect accessible utility spaces, closets along perimeter walls and the bottoms of stored items. Look for a pattern rather than a single damp spot: does water appear at the floor edge, below a window well, near a pipe or behind a built-in cabinet? Document whether the problem follows rain, thawing snow or household water use.
Keep furnishings and boxes away from areas under investigation so the wall remains visible. A dehumidifier may help control indoor humidity, but its operation does not prove that a leak or drainage defect has been fixed. Before adding finishes, ask how the wall will handle moisture and how future inspections will occur. If water is near electrical equipment, stay out and have the hazard assessed; do not enter standing water to reach a switch or panel.
Plan access, approvals and neighboring work together
Rowhouses have practical constraints that a detached-home estimate may overlook. Ask where scaffolding, debris and equipment will go, how access will be arranged and who will protect adjoining property. A roofer, mason and window contractor may each see a different part of the same leak. Have one written plan identify the connection between their scopes, including who verifies the completed water-shedding detail.
Historic status also needs an address-specific check. Boston's historic-building guidance is a useful starting point, but the applicable review depends on the property and proposed work. Contact the relevant local office before changing visible materials or details. Do not rely on a neighbor's project as proof that yours has the same approval requirements. When the work disturbs older painted surfaces, include lead-safe practices in the contractor discussion before demolition or sanding begins.
Build a repair file that stays useful next year
Divide the work into source control, drying or damaged-material assessment, and finish repair. The estimate should state which of those stages it includes. A roof invoice alone will not explain whether wet insulation was checked; a newly painted ceiling will not show what happened above it. Ask for photographs of concealed repairs and a clear record of any areas the contractor could not access.
Use the same photo positions after later rain so you can compare conditions without relying on memory. Keep material specifications, warranties, access arrangements and follow-up responsibilities in one folder. For recurring problems, record what changed after each intervention. That history makes the next inspection narrower and helps avoid paying for the same unsuccessful repair under a different description. Set a reminder for exterior checks after major weather and before a planned interior decorating project.
Your field checklist
- Map the front, rear, additions and below-grade rooms on one sketch.
- Record the roof drainage route and its final discharge point.
- Separate stone deterioration, mortar defects and surface deposits in your photographs.
- Ask for material-specific masonry specifications and a trial area.
- Confirm property-specific approval requirements before visible exterior changes.
- Keep drying records and concealed-work photographs with repair invoices.
A few common questions
Does every brownstone need waterproofing?
No single treatment suits every wall. First identify the masonry, moisture source, earlier coatings and intended use of the interior. A proposal should explain why its treatment fits those conditions and how the wall will dry afterward.
Should an old stain be repainted immediately?
Only after its source and present moisture condition have been assessed. A dry-looking surface can conceal another affected material. Photograph the stain first and agree on what evidence will show that finish repair can proceed.
Can a general contractor coordinate this work?
Yes, if the contractor brings in the relevant roofing, masonry and restoration specialists and clearly assigns responsibility at their interfaces. Ask who will investigate the source, document concealed work and return if the original symptom recurs.
Sources & further reading
- Preservation Brief 1: Cleaning and Water-Repellent Treatments for Historic MasonryNational Park Service
- Preservation Brief 2: Repointing Mortar JointsNational Park Service
- Resilient Historic Buildings Design GuideCity of Boston
- Renovation, Repair and Painting Program: ConsumersU.S. Environmental Protection Agency
This guide supports informed conversations about your home. Conditions, materials and local requirements vary; an on-site assessment is necessary for decisions about a particular property.