The useful starting point
Record exactly where water first appears and whether it follows rain, wind or indoor condensation. Ask the investigator to examine the window together with the surrounding wall and drainage details. Avoid sealing every opening or replacing the unit before the entry route has been established.
Find the first wet surface
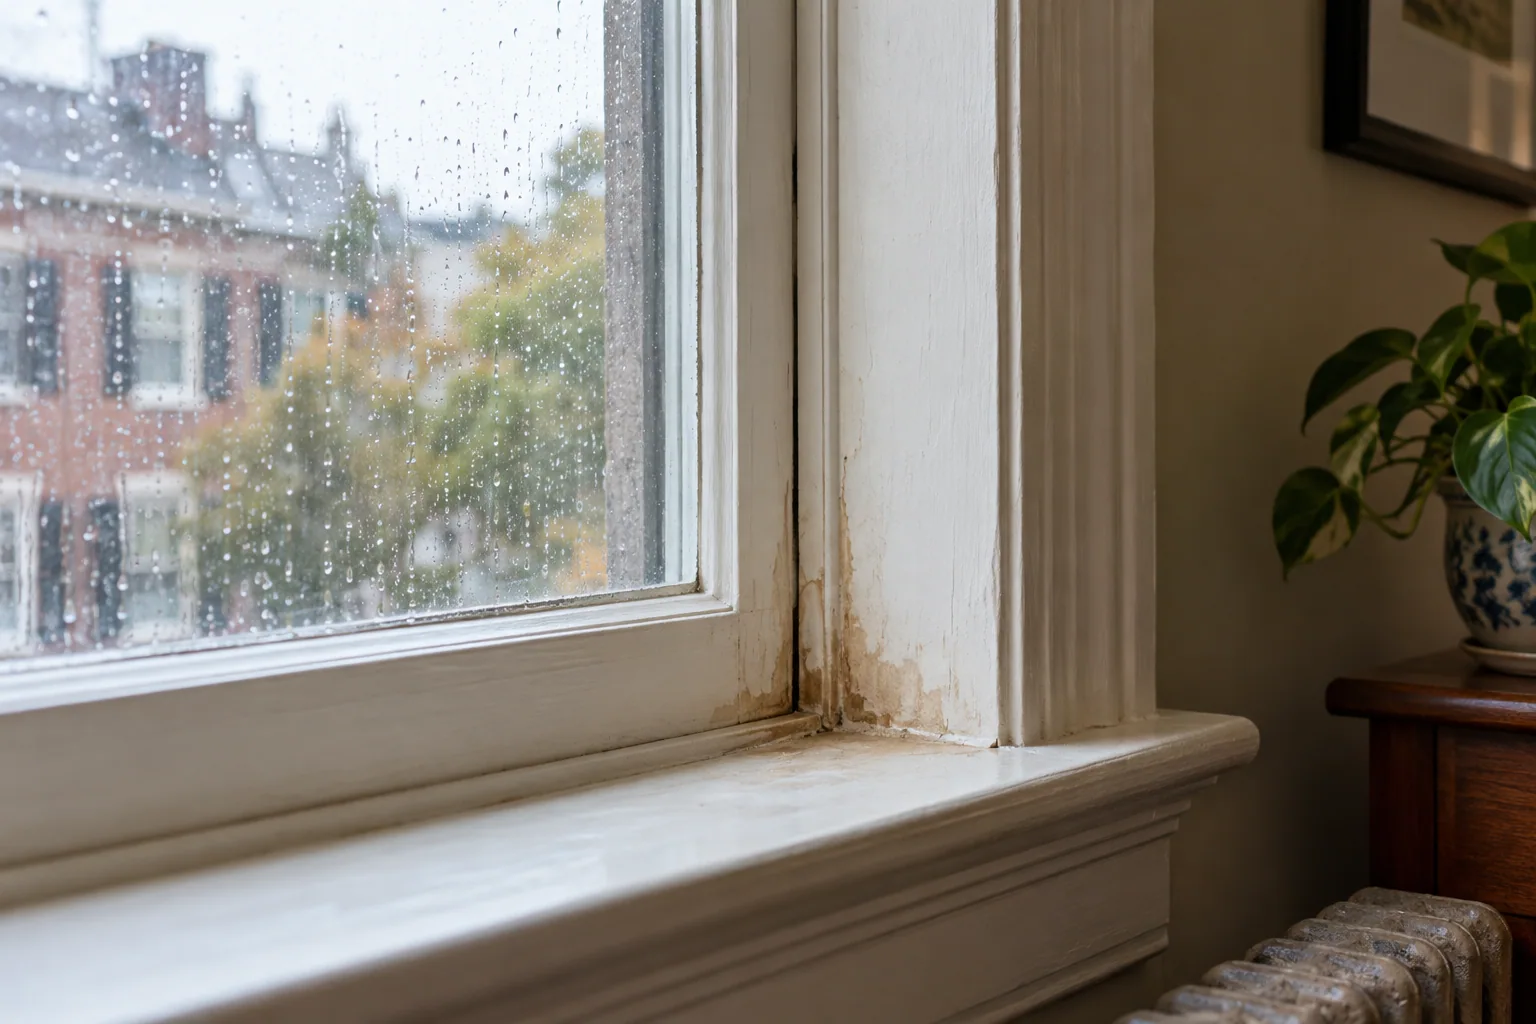
Where does the water first appear: on the room side of the glass, at a frame joint, behind trim or on the wall above? Take a photograph before wiping it away if the area is safe. The first wet surface is often more useful than the final puddle. A towel on the sill can protect the finish temporarily, but once it is wet, it may conceal the point where the water started.
Compare the affected window with nearby windows. Note which face the same direction, which are sheltered and which were replaced at a different time. A repeated symptom across several cold windows suggests different questions from one localized leak during wind-driven rain. Neither pattern is a diagnosis. The comparison helps the inspector decide what to examine and whether the room's moisture conditions should be part of the visit.
Distinguish condensation from rain entry
Condensation can form when moist indoor air meets a cold surface. Water on the inside face of glass during cold weather may fit that explanation, especially when several windows show it. Record indoor activities and ventilation conditions alongside the weather. Ask about humidity measurement and air circulation rather than assuming that a more expensive window will remove the moisture source.
Rain entry can occur through the window assembly or through a surrounding wall detail, with water appearing inside at the opening. Note wind direction, rainfall and whether the top, side or bottom becomes wet first. A window can have both condensation and an exterior leak, so one finding should not stop the other investigation when the history suggests more than one pattern.
| Observation | Possible investigation direction | Do not conclude |
|---|---|---|
| Water on indoor glass in cold weather | Humidity and surface temperature | The frame necessarily leaks |
| Wet trim during wind-driven rain | Window, flashing and adjacent wall | Replacement alone will fix it |
| Stain above the opening | Wall or roof details above | The sill is the entry point |
| Moisture between sealed panes | Glazing-unit assessment | The whole wall has water damage |
Inspect the wall above and beside the opening
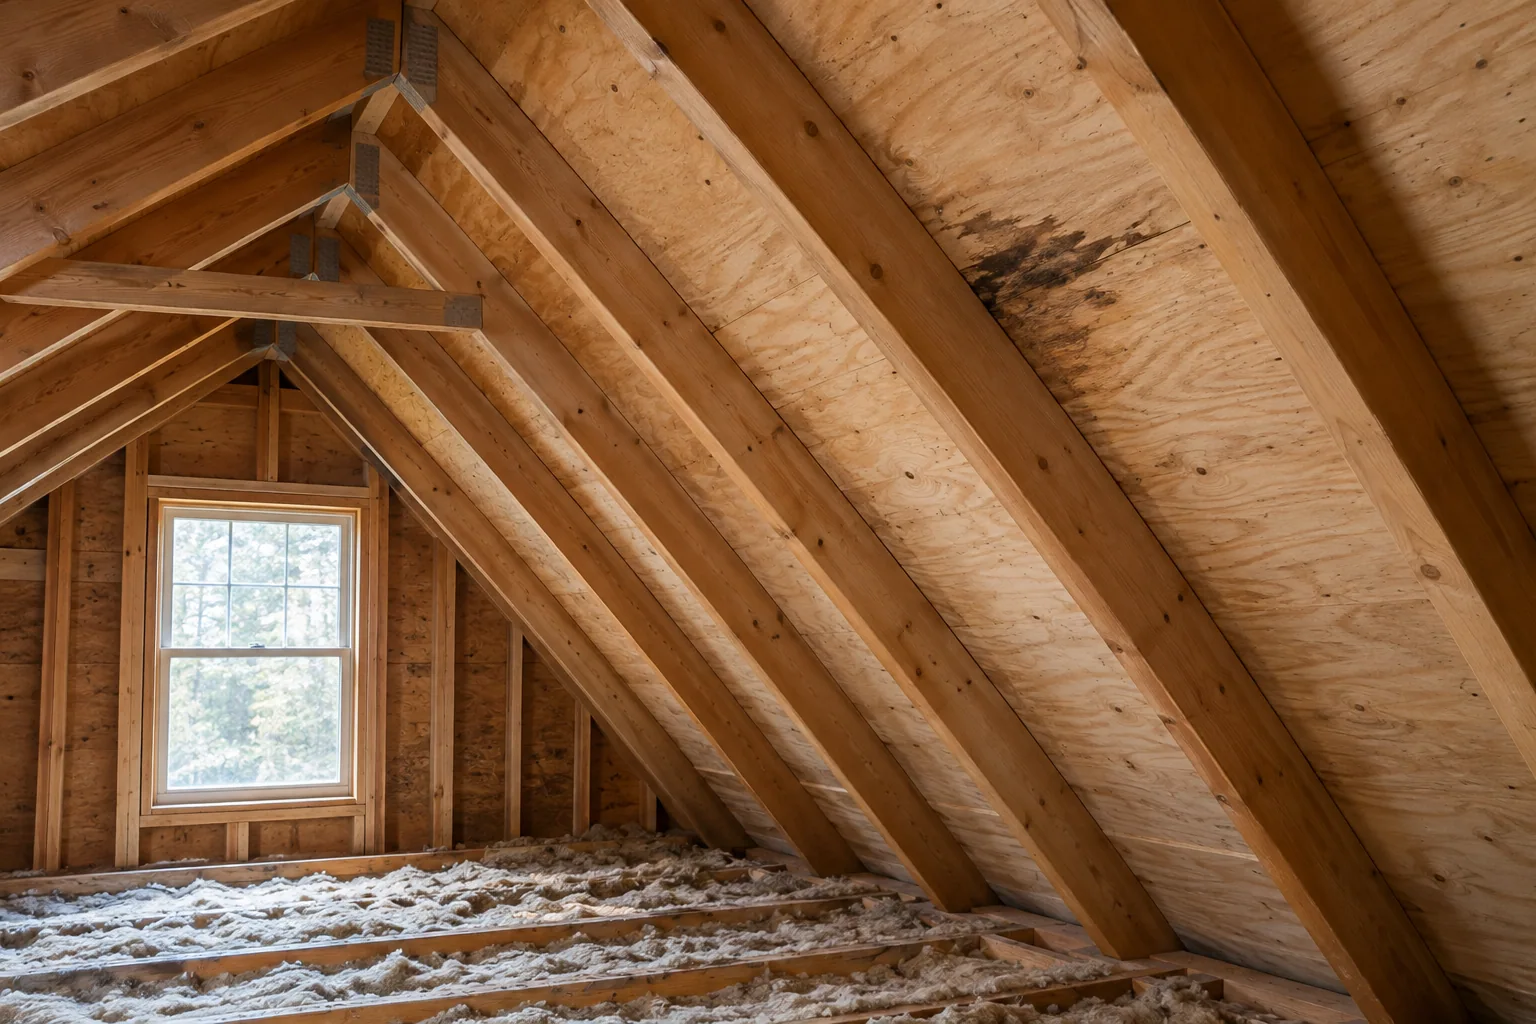
Ask the contractor to look beyond the sash. Relevant details may include the head of the window, siding or masonry joints, nearby roof runoff and connections to a bay or dormer. The water path can begin above the visible damage. A replacement-window salesperson may focus on the unit, while a roofer or enclosure specialist may be needed to examine an adjoining detail.
Request a plain-language explanation of the suspected route. If testing is proposed, ask who will conduct it, how individual areas will be isolated and how interior conditions will be watched. Uncontrolled hose spraying can wet several routes at once and make the results difficult to interpret. Professional testing should answer a defined question rather than simply demonstrate that enough water can make the room wet.
Keep drainage openings and historic materials in view
Windows and wall systems may include drainage paths that should not be indiscriminately sealed. Before caulking, identify the particular joint and the manufacturer's or repair specification that applies. Ask what the sealant is meant to do and what must remain open. Covering every visible gap may hide an installation problem or obstruct intended drainage.
For older wood windows, separate the condition of the glass, sash, frame and sill. The National Park Service's wood-window guidance supports evaluating components before deciding on repair or replacement. Localized deterioration does not automatically condemn the entire opening. Ask for a repair option where feasible, and establish lead-safe practices before disturbing older painted surfaces. The goal is a working water-shedding assembly with a documented repair, not simply a new-looking interior trim.
Decide whether the surrounding wall needs opening
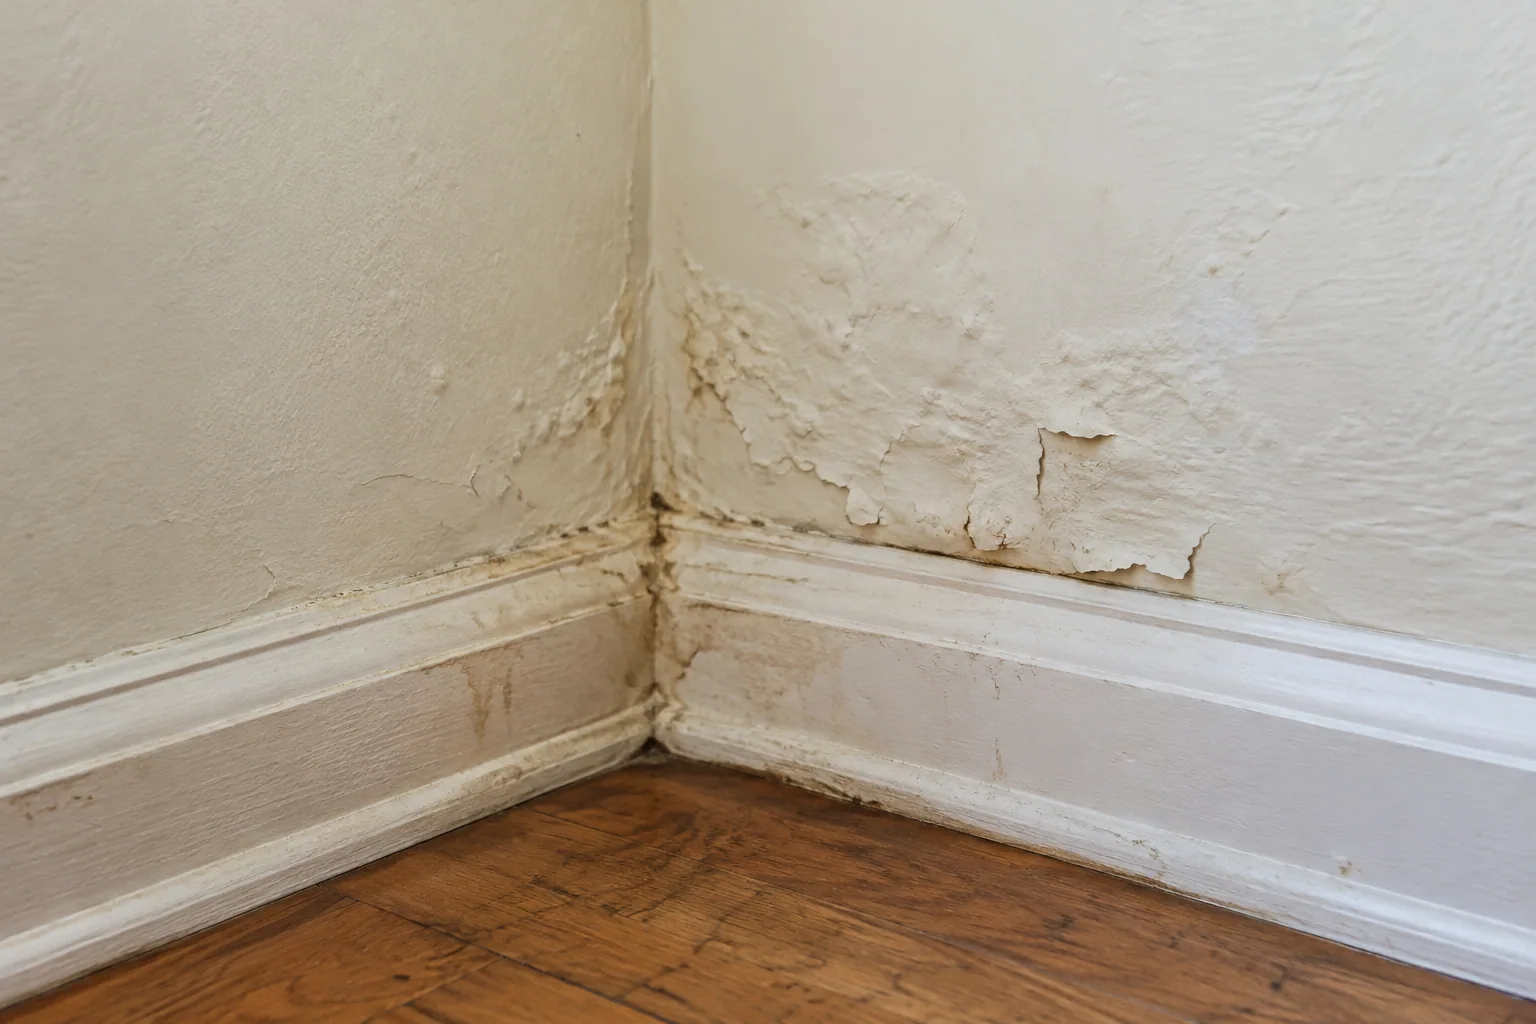
Swollen trim, soft finishes or recurring staining may justify assessment beyond the visible surface. Ask how the investigator will determine the extent of affected materials and whether a limited opening is necessary. Clarify dust control, protection of belongings and treatment of older materials before the work begins. A photograph cannot establish the condition inside the cavity.
If the opening exposes wet insulation or damaged wood, request documentation and an updated scope. The source repair, material decisions and final wall closure should be coordinated. Do not let a replacement installation conceal an unresolved damp cavity simply because the new unit fits the opening. Conversely, ask for evidence before accepting demolition of a large wall area when a more targeted investigation could answer the question.
Verify the repair before restoring the finish
Agree on what will demonstrate success. Depending on the suspected route, that may involve an appropriate professional water test, observation during comparable rain and inspection of the repaired detail. Record any limitations: an interior-only repair cannot establish the condition of a concealed exterior connection that no one examined.
Keep photographs of the original symptom and the completed work, including concealed flashing or framing where access allowed. Recheck the same location rather than judging the entire room by whether it feels dry. If condensation was also present, continue the separate moisture-control plan. A window can stop admitting rain while still collecting indoor condensation, and the follow-up should be clear about which condition each measure addressed.
Your field checklist
- Record the first wet surface before wiping it dry.
- Compare affected and unaffected windows with similar exposure.
- Note cold-weather condensation separately from rain events.
- Include the wall, roof details and runoff above the opening.
- Identify intended drainage paths before adding sealant.
- Verify source repair and cavity condition before replacing trim or painting.
A few common questions
Does water between double-pane glass mean rain is entering the room?
Moisture between sealed panes calls for a glazing-unit assessment, but it does not by itself establish a leak into the wall or room. Document any separate wet trim or sill condition so both issues are examined.
Should I caulk the outside immediately?
First identify the joint and whether it is meant to drain. A temporary measure may be appropriate when advised by a professional, but indiscriminate caulking can obscure the source or block drainage.
Can an old wood window be repaired after a leak?
Often a component-specific assessment is worthwhile. Condition, extent of deterioration and the surrounding installation determine the options. Ask for a reasoned repair or replacement recommendation, including the work needed outside the window itself.
Sources & further reading
- Preservation Brief 9: The Repair of Historic Wooden WindowsNational Park Service
- Preservation Brief 39: Controlling Unwanted Moisture in Historic BuildingsNational Park Service
- A Brief Guide to Mold, Moisture and Your HomeU.S. Environmental Protection Agency
- Renovation, Repair and Painting Program: ConsumersU.S. Environmental Protection Agency
This guide supports informed conversations about your home. Conditions, materials and local requirements vary; an on-site assessment is necessary for decisions about a particular property.