The useful starting point
Stop using a leaking dishwasher and arrange safe isolation and service. Have the surrounding cabinet base, floor layers and room below assessed when water has escaped the appliance area. Keep the appliance-repair findings separate from the building-drying record so neither task is mistaken for completion of the other.
Stop the cycle of repeated exposure
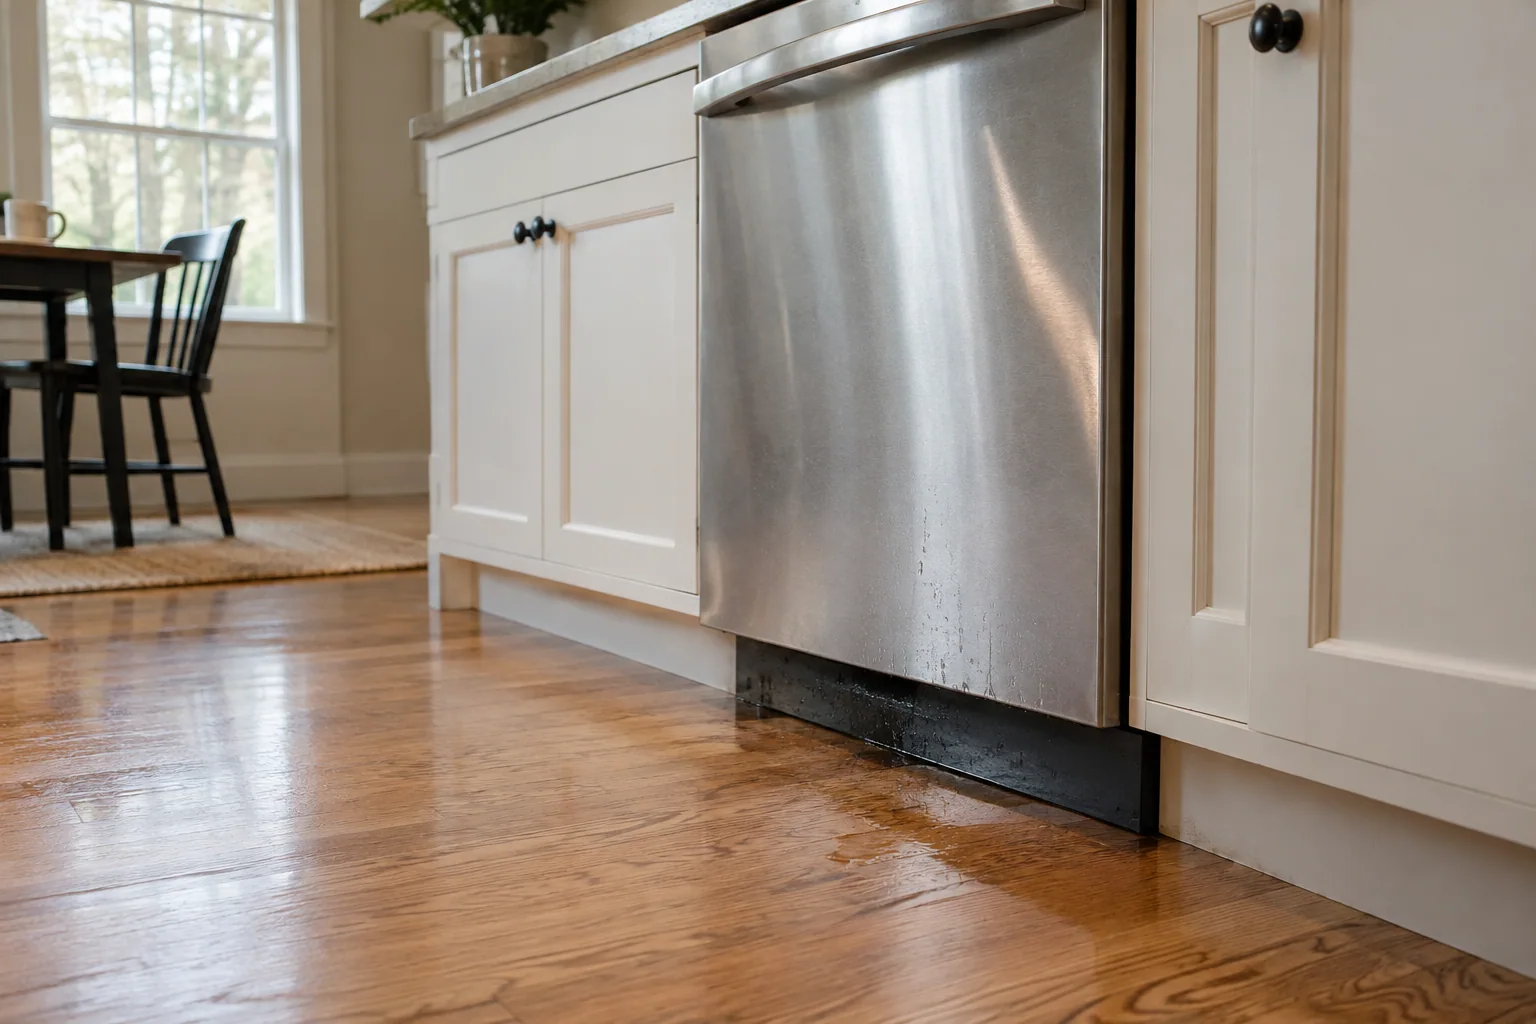
Stop using the dishwasher when it leaks. Another cycle can send more water under the floor even if the puddle looks small. Follow the manufacturer's shutdown instructions, and operate a shutoff only when you can reach it without entering water or touching wet electrical equipment. Otherwise, call qualified help. Leave a connected built-in appliance in place until it can be moved safely.
Record the model, the cycle stage when you noticed water and any error message. A photograph of the message and a brief description of the leak's location can help the service provider. Do not remove panels or reach underneath to improve the picture. The technician needs accurate observations, not an owner-performed test that allows more water into the floor.
The location helps the technician ask better questions
Water at the door, underneath the machine and in the neighboring sink cabinet can point toward different checks. Whirlpool's troubleshooting distinguishes door-related leakage from supply or drain connections and other causes. These are possibilities for service to evaluate, not a diagnosis based on where you see a puddle. Water can travel along the appliance base before it reaches the front.
Tell the technician about recent installation, a moved appliance, a new disposal or a change in detergent, if relevant. Do not add an assumed explanation just because one of those events occurred recently. Request written findings describing the actual defect and repair. Keep any part information the technician provides, especially if another contractor will later reinstall the appliance after floor work.
Inspect the space hidden by the toe kick
Built-in appliances and cabinets conceal surfaces that are easy to miss during an ordinary mop-up. Ask the restoration inspector to evaluate the appliance recess, the adjacent cabinet base and the flooring transition. The inspection should account for how the floor was installed: some rooms have a continuous finish under the machine, while others expose a different substrate inside the recess.
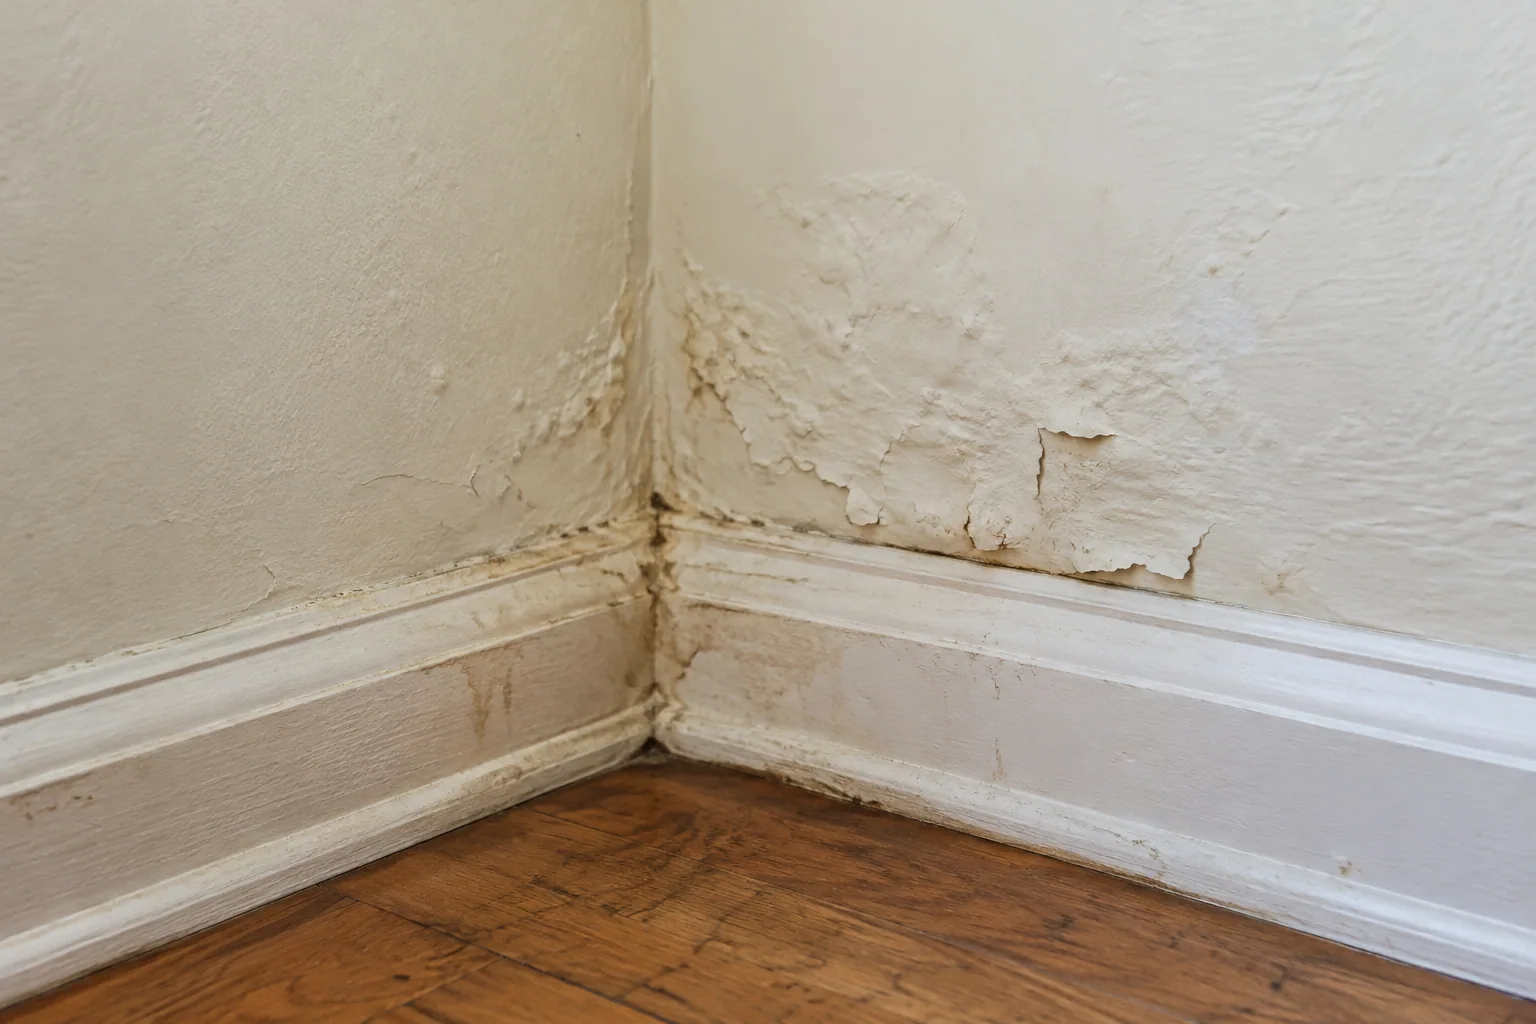
A swollen cabinet edge or detached finish may show where water reached an absorbent part. Ask whether the damage is cosmetic, whether the material has lost its integrity and whether the back or underside can be accessed. Do not assume that a new decorative panel repairs everything behind it. The estimate should identify the cabinet components being retained and those requiring replacement.
| Location | What to have checked | Why it matters |
|---|---|---|
| Appliance recess | Source connections and exposed substrate | The visible puddle may leave hidden wet areas |
| Cabinet toe kick and base | Swelling, concealed surfaces and access | A finish panel can hide affected material |
| Adjacent flooring | Product, attachment and underlying layers | The repair depends on the whole assembly |
| Ceiling or basement below | Evidence of water passing through | Damage may extend beyond the kitchen |
Follow water across the floor layers
The finish may look almost normal while the layer below remains wet. Ask how the inspection will distinguish the flooring from its underlayment or subfloor. A floating floor, glued wood floor and older nailed strip floor create different access questions. A reading taken only beside the dishwasher door cannot establish the condition under the neighboring cabinet or across the affected room.
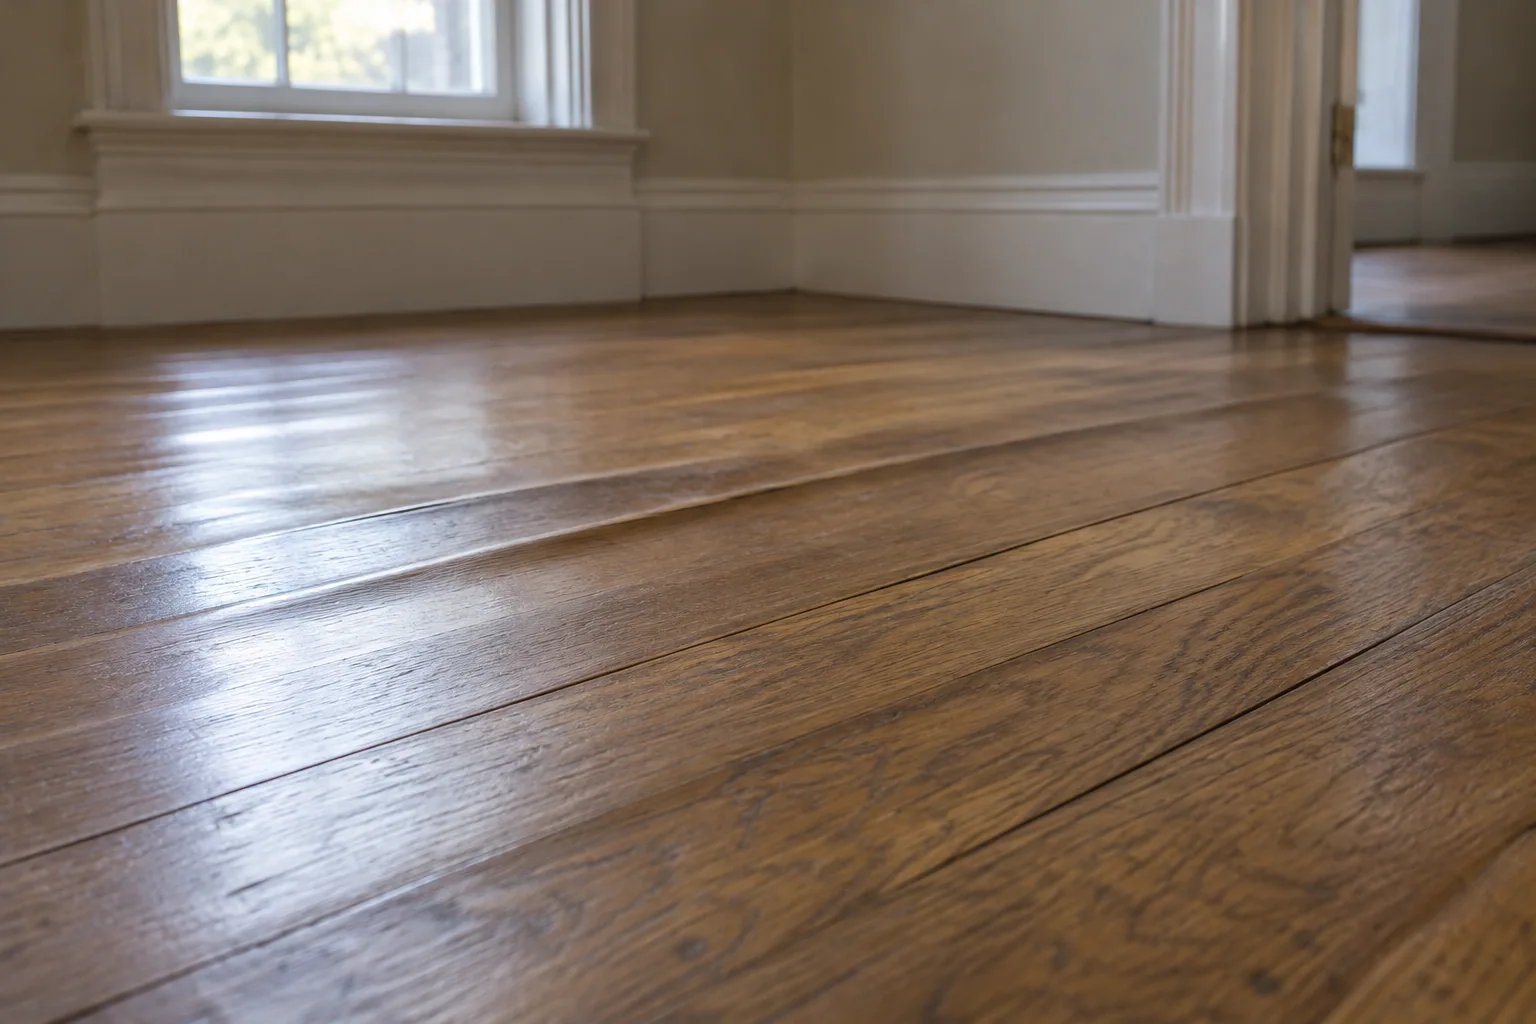
If boards have cupped or a floor edge has lifted, involve a flooring professional before sanding or replacing the visible strip. Describe when the shape changed and provide the drying record. Ask which decisions can be made now and which depend on further inspection. An appliance-service visit is a good time to stop the source, but it is not enough evidence to choose the final flooring repair.
Keep the inspection targeted but complete
A small leak does not automatically justify dismantling the entire kitchen. It also does not justify ignoring every concealed area. Ask the contractor to define the affected boundary using observations and appropriate measurements, then explain why any access opening is necessary. If the evidence changes after the machine is safely removed, request an updated scope rather than an undocumented expansion of the work.
Older kitchens may contain several generations of flooring, adhesive and painted woodwork. Before cutting or lifting unknown material, ask how potential lead or asbestos concerns will be addressed. Avoid owner-led exploratory demolition. The contractor should plan the opening, dust protection and waste handling so the investigation does not spread debris into food storage and occupied living areas.
Coordinate the appliance and building contractors
Assign responsibility for safe disconnection, moving the appliance, source repair and final reinstallation. Those tasks may involve more than one company. Confirm who protects the floor during removal and who verifies the connections after the appliance returns. A gap in this sequence can leave a repaired kitchen exposed to a newly disturbed hose or a machine that has not been properly checked.
Ask for separate descriptions of appliance work, cabinet work, drying and flooring repair. This makes estimates easier to compare and gives the insurer or owner a clear record of what each charge addresses. Include any temporary loss of kitchen use in planning, but ask the insurer about coverage before assuming a particular expense will be reimbursed. Keep receipts and written approvals together.
Make the repaired area easier to inspect
Before the machine returns, obtain the relevant moisture findings and photographs of the accessible recess. Discuss a leak sensor in an appropriate location and whether the shutoff remains reachable. Ask the service provider about maintenance and installation requirements for your model. A hidden connection should not become inaccessible simply because the final trim is easier to attach that way.
At the final handoff, review the service verification and the repair record. Check that the cabinet, flooring and appliance scopes all have a clear completion status. Save the product details for any new boards or panels. If another sign appears later, those records let you contact the right trade with a specific location and history instead of starting the investigation again from a vague report of dampness.
Your field checklist
- Stop using the dishwasher and arrange safe service.
- Record model information, error messages and when water appeared.
- Inspect the recess, cabinet bases, floor layers and room below as needed.
- Request a justified boundary for any removal.
- Assign disconnection and reinstallation responsibilities.
- Keep source-repair and drying records before the appliance returns.
A few common questions
The dishwasher was repaired. Do I still need a moisture inspection?
If water escaped into flooring, cabinets or the space below, ask whether those materials were assessed. Appliance repair addresses the cause. The amount of building inspection needed depends on the exposure and the assembly, not simply whether the machine now runs.
Can I slide the dishwasher out myself?
A built-in machine can have water, drain and electrical connections that need safe disconnection. Arrange qualified service when there is a leak or uncertainty. Pulling it out can damage connections and the floor or expose wet electrical parts.
Does a leak sensor replace regular checks?
No. It can provide an alert where water reaches the sensor, but placement, power and response matter. Continue to follow the appliance's maintenance instructions and investigate changes in the surrounding floor or cabinet promptly.
Sources & further reading
- Dishwasher Leaking Troubleshooting GuideWhirlpool
- Leaking Underneath a DishwasherWhirlpool
- Finding Mold and MoistureU.S. Environmental Protection Agency
This guide supports informed conversations about your home. Conditions, materials and local requirements vary; an on-site assessment is necessary for decisions about a particular property.